Farm & Ranch Prevention & Preparedness
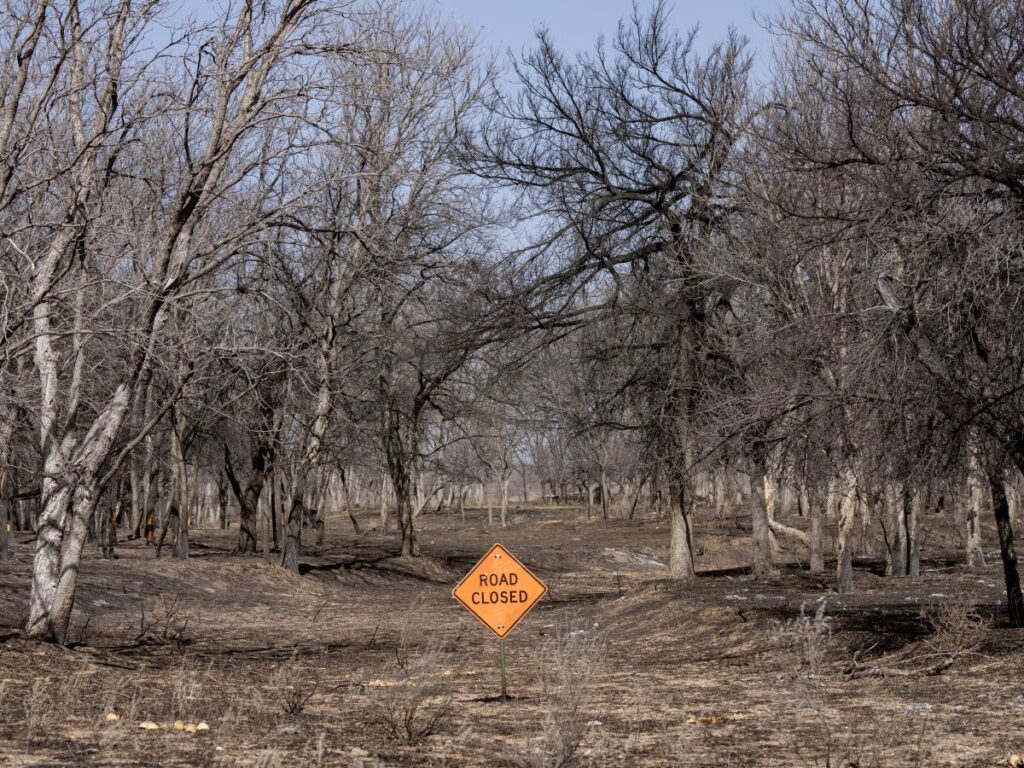
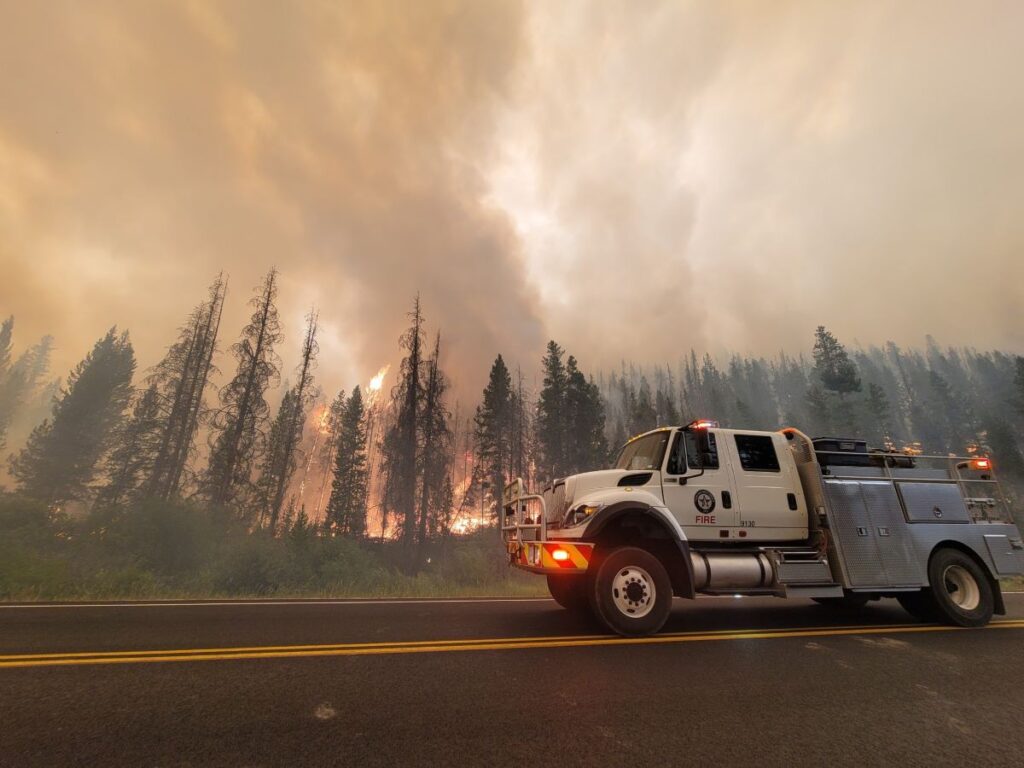
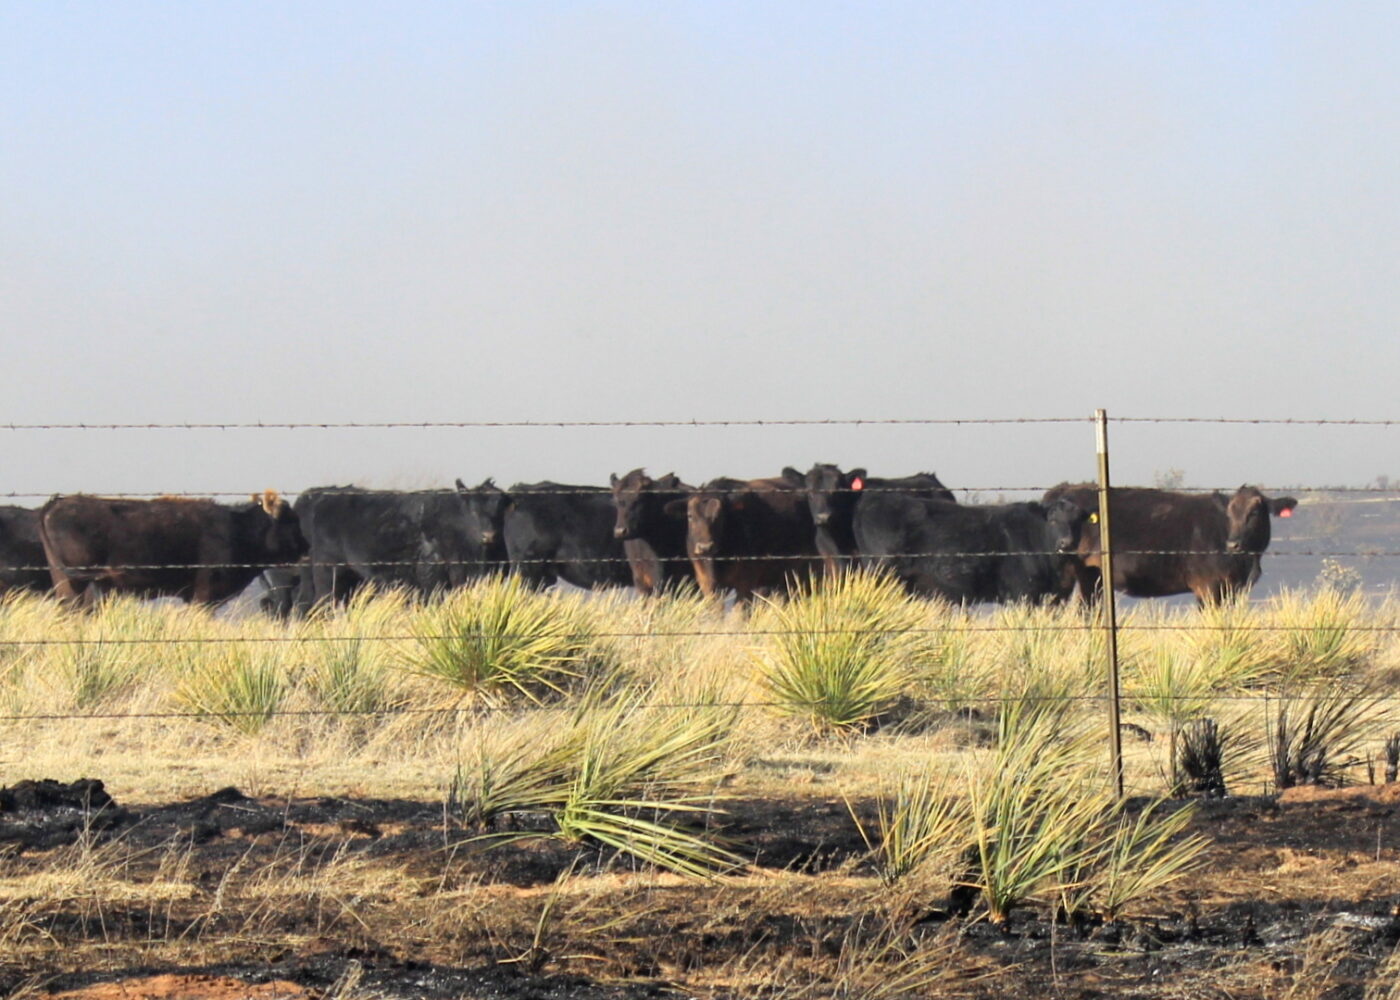
Wildfire can be costly and dangerous for farms and ranches. Whether the fire burns up thousands of acres of grazing land or entire crop fields, the economic loss can be devastating.
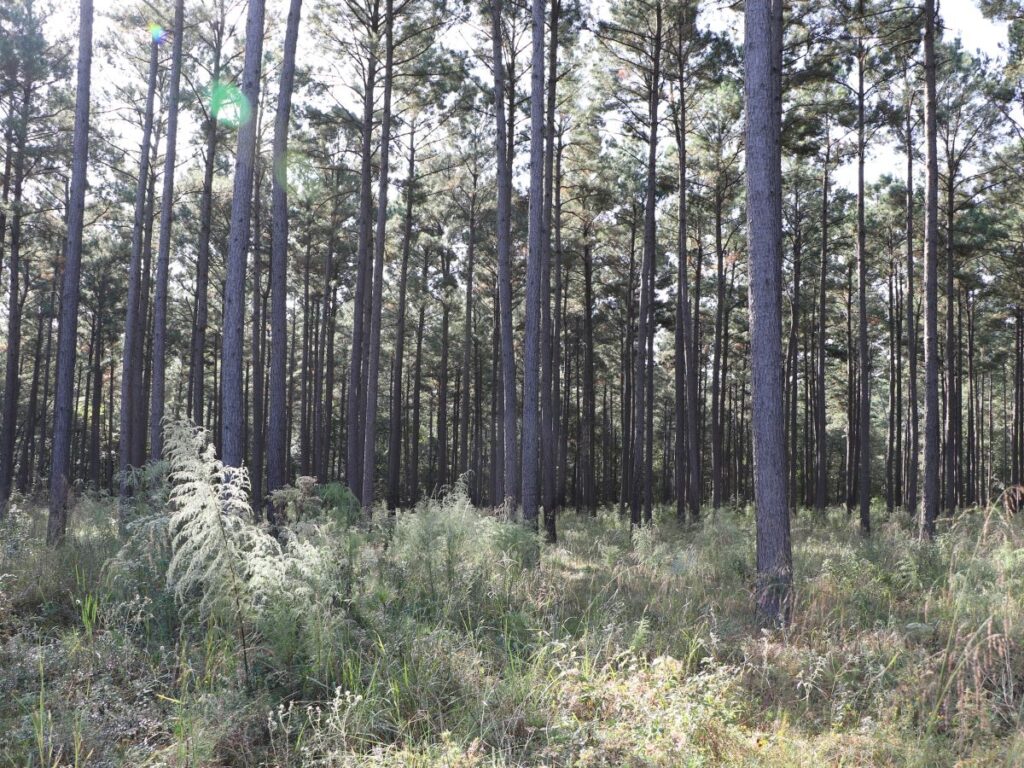
Find resources about preventing and preparing for wildfires on your ranch and available grants to reduce your wildfire risk.
-
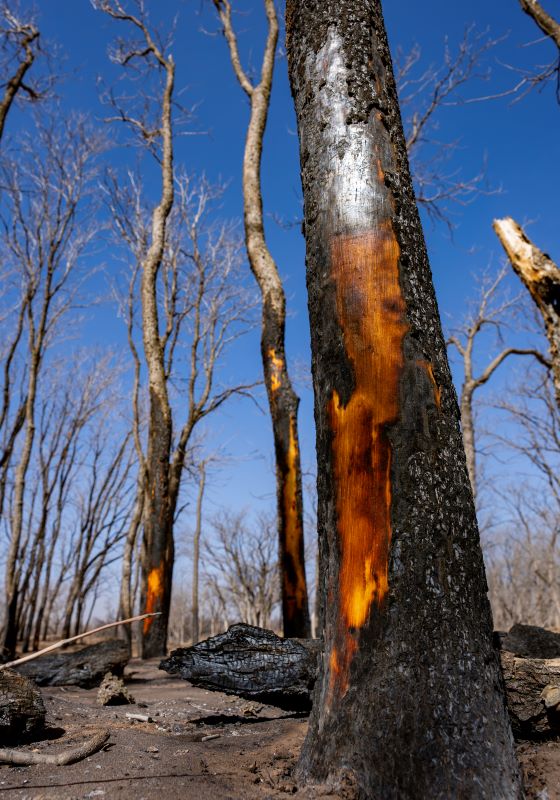
Learn how to evaluate your risk and prepare your farm or ranch for a wildfire.
-
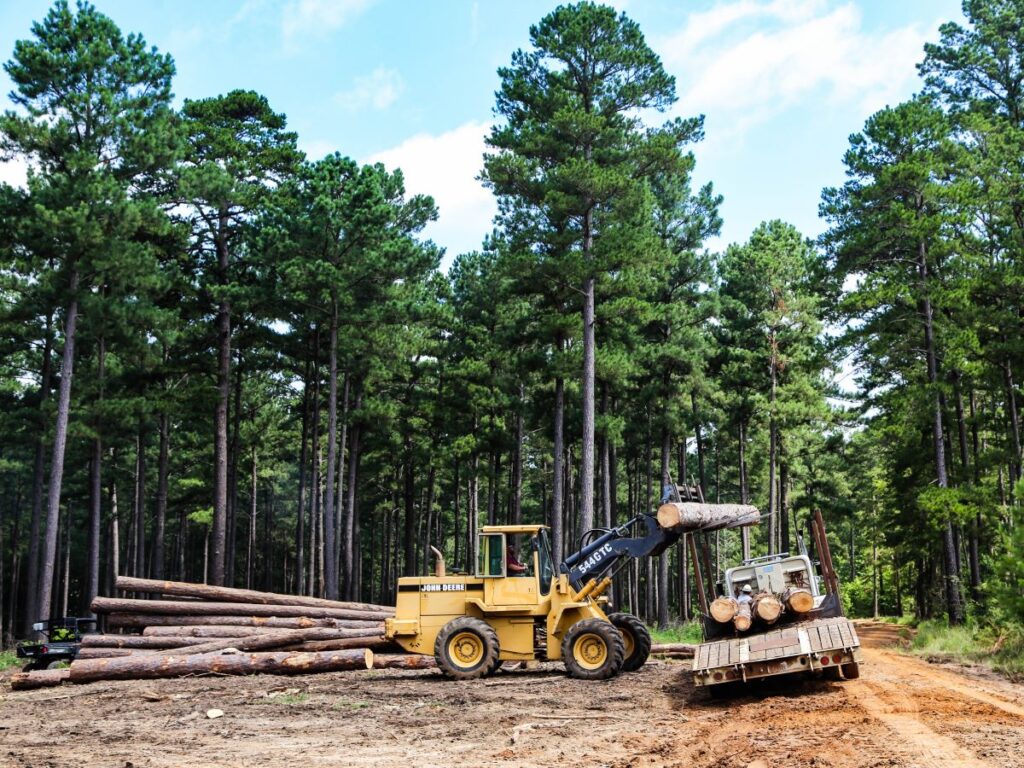
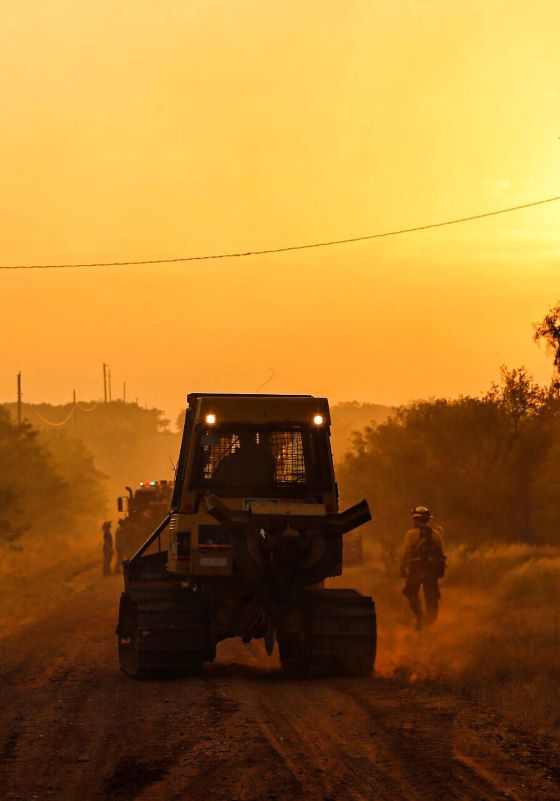
Learn how to prevent wildfires, especially when using heavy equipment.
-
Discover grants available to landowners in your region.
-
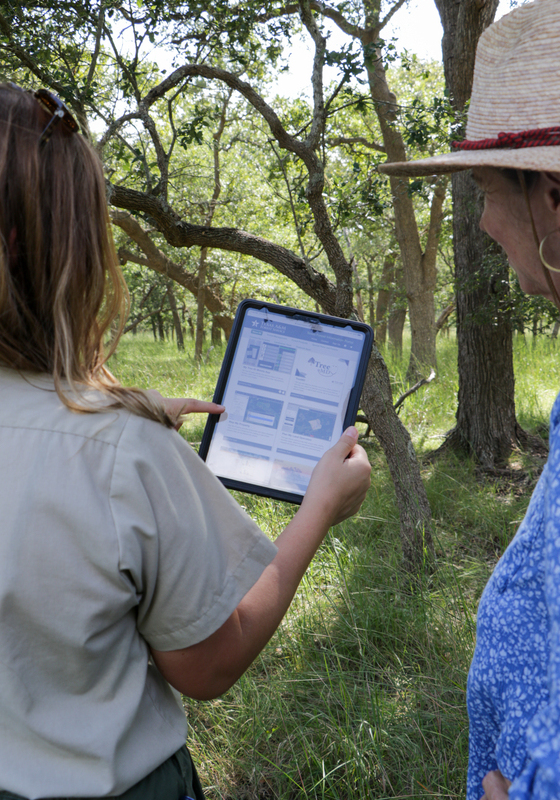
Use the Map My Property Application to identify your property, establish priorities, label points of interest, and more.